
Hurrah! The Powder Bath transformation is finally complete! My favorite thing about the mirror project is that we were able to utilize almost every bit of the barnwood scraps from our original projects for our cottage. I'm so glad I kept all those smaller pieces of wood!
BEFORE AND AFTER
Here is what the mirror looked like before. Both the sink cabinet and mirror were originally black. When I painted the sink cabinet white, the black mirror looked even more out of place.


Also in this powder room is a large framed photo in a frame made of weathered barnwood. For the mirror frame, I was determined to use our leftover barnwood pieces to tie those two elements together, but I wasn't sure exactly how it was going to work. I poured through photographs on google images and pinterest and the one below caught my eye. The photo is from an a seller on Etsy. This mirror is no longer available, but I have provided a link to the store - Rustic Wood Originals.
 |
| Inspiration photo from Etsy |
I liked the contrast of the white wood against barnwood as it provided a "cottagey" feel. The white frame also serves a purpose to provide a finished edge to the mirror frame and enabled me to have the entire inside frame of the mirror as weathered edges of the individual pieces of barnwood (the cut edges on the outside were concealed by the white painted frame pieces.)
The cost of this project was minimal because (1) we already had the black framed mirror to use as a base, (2) the barnwood was all leftover scraps, and (3) I had some D ring hangers and heavy duty drywall hooks for the hardware to hang it (the original hardware on the mirror was not going to work with the extra weight). All we had to buy was enough 1x3 wood pieces to crate the white frame around the edge of the mirror (less than $10).
SUPPLIES
- Mirror to use as a base
- Scrap Barnwood Pieces cut to size
- Wood to create white frame (this will be dictated by the depth of the frame on the mirror base, and the depth of the barnwood pieces). 1x3 worked well (note: it is really 3/4" x 2.5")
- Wood Glue and Nail Gun (to attach 1x3 to create white frame)
- Primer and White Paint
- Glue to adhere barnwood pieces (I used Weldbond glue, but I would think wood glue could work as well)
- Hardware to hang mirror on wall
STEP 1: Attach 1x3's to outside of mirror frame

 d
d


STEP 2: Prime and Paint 1x3 frame
Whenever I paint something white, I always use 2 coats of primer and 2 coats of paint. In my opinion - all those coats are necessary too get a good looking finish.
STEP 3: Cut and Place Barnwood Pieces
Our scraps of barnwood were cut into 3 3/4" squares, keeping weathered edges wherever possible. I made a point to randomly place the different textures and colors of barnwood that we had on hand. I made sure to avoid placing the cut edges on the inside of the mirror frame. In the end, only weathered edges were visible on the exposed sides of the barnwood pieces (inside of mirror frame). Some of the pieces were different depths, but I liked how this added some character.
STEP 4: Glue Barnwood Pieces
Good ol' Weldbond glue worked well here. You can typically find it at an Ace Hardware, or you can purchase online.
STEP 5: Cut additional Pieces
After gluing the barnwood squares to the frame, we were left with a couple blocks that needed to be cut down slightly, and a couple gaps that required additional pieces cut to fill them. Once those were cut and glued - the mirror was complete.

STEP 6: Hanging Hardware
Quite a bit of weight was added to the original mirror (the 1x3 pieces of wood and all those barnwood squares). The original hardware on the back of the mirror might have been sufficient, but definitely was not confident in the screws the builder had used to hang the mirror straight into the drywall (no studs). I installed D-ring hangers on the back of the mirror and heavy duty drywall hooks on the wall to handle the extra load.
The pieces were cut to size with a 45 degree cut on either end to miter the corners
 |
| Pieces of mitered 1x3 for outside of mirror frame |
Wood glue was used to hold the pieces together, then taped to keep them in place


A nail gun was used to adhere the 1x3's to the mirror frame.


STEP 2: Prime and Paint 1x3 frame
Whenever I paint something white, I always use 2 coats of primer and 2 coats of paint. In my opinion - all those coats are necessary too get a good looking finish.
STEP 3: Cut and Place Barnwood Pieces
Our scraps of barnwood were cut into 3 3/4" squares, keeping weathered edges wherever possible. I made a point to randomly place the different textures and colors of barnwood that we had on hand. I made sure to avoid placing the cut edges on the inside of the mirror frame. In the end, only weathered edges were visible on the exposed sides of the barnwood pieces (inside of mirror frame). Some of the pieces were different depths, but I liked how this added some character.
 |
| Placing the barnwood pieces on the frame |
 |
| Only weathered edges of barnwood visible on the inside of the frame. |
STEP 4: Glue Barnwood Pieces
Good ol' Weldbond glue worked well here. You can typically find it at an Ace Hardware, or you can purchase online.
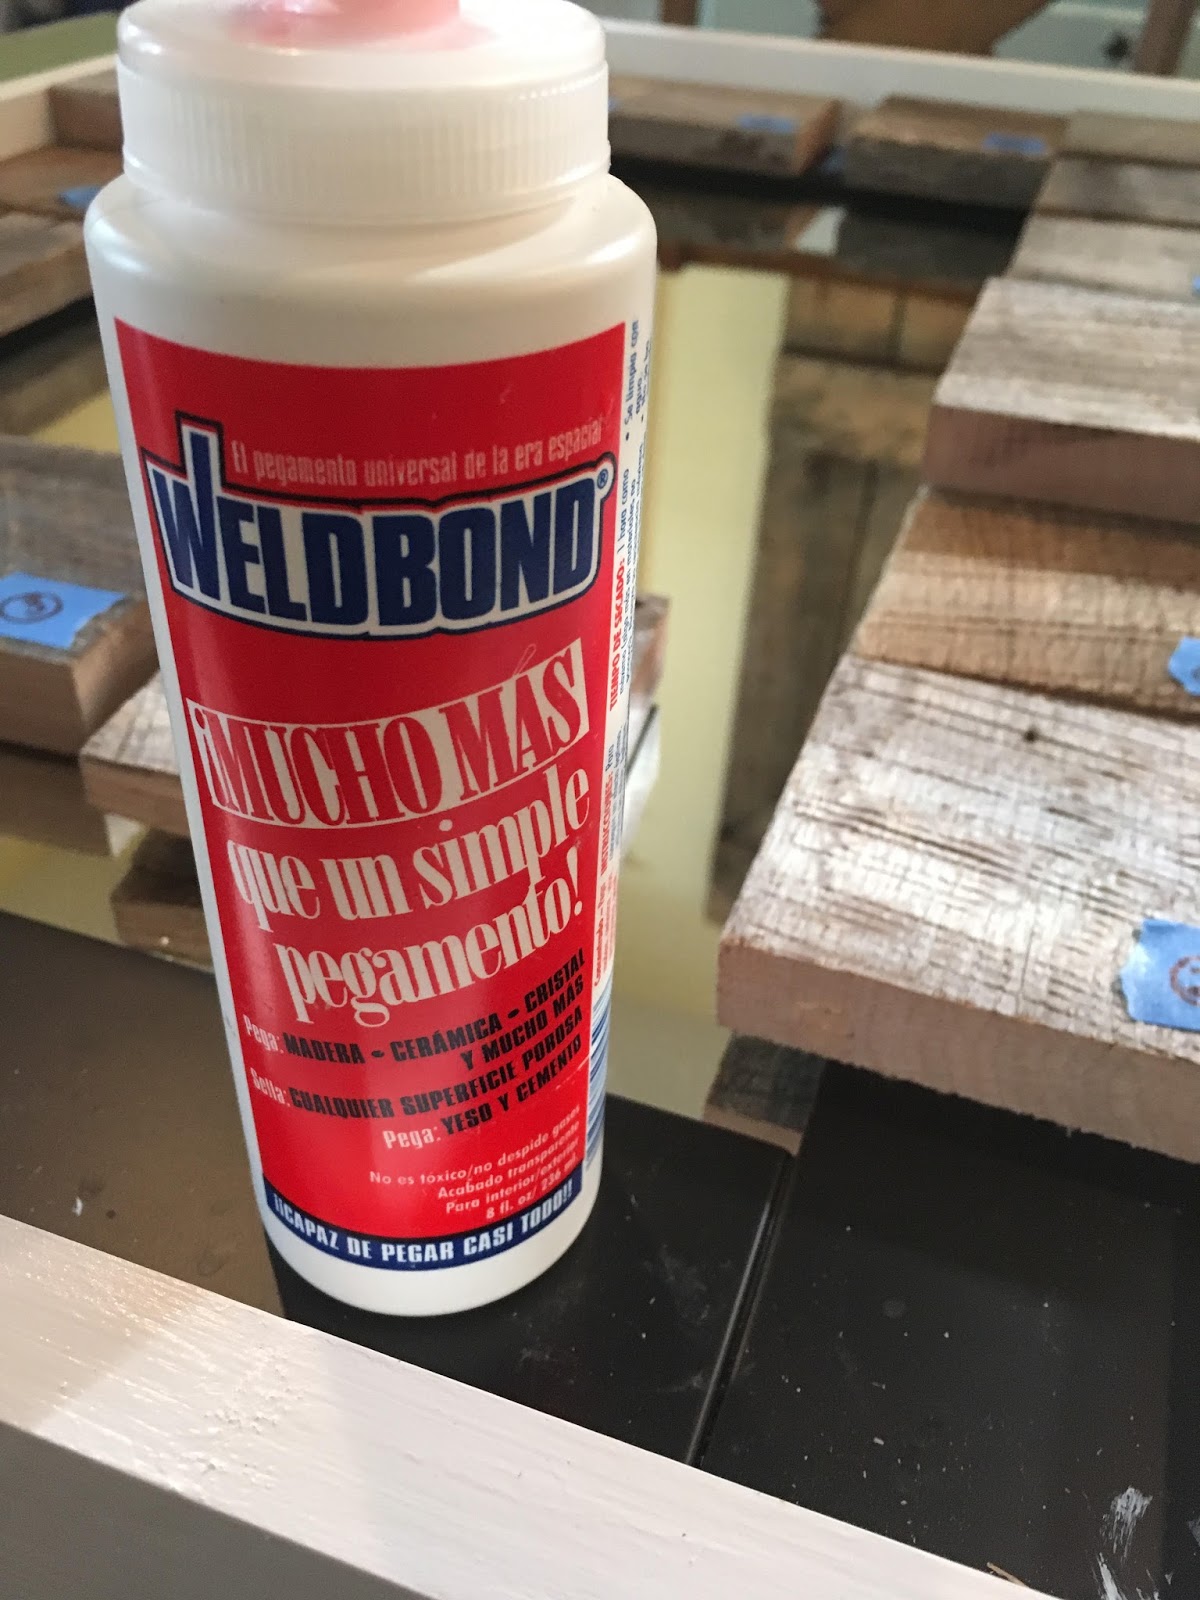 |
| Weldbond Glue used to adhere the barnwood pieces to the existing frame |
STEP 5: Cut additional Pieces
After gluing the barnwood squares to the frame, we were left with a couple blocks that needed to be cut down slightly, and a couple gaps that required additional pieces cut to fill them. Once those were cut and glued - the mirror was complete.

STEP 6: Hanging Hardware
Quite a bit of weight was added to the original mirror (the 1x3 pieces of wood and all those barnwood squares). The original hardware on the back of the mirror might have been sufficient, but definitely was not confident in the screws the builder had used to hang the mirror straight into the drywall (no studs). I installed D-ring hangers on the back of the mirror and heavy duty drywall hooks on the wall to handle the extra load.


Special thanks to our friends with the tools that made this project possible. Thanks to Ryan for helping us cut out all the barnwood squares on his table saw. Thanks to Kent for helping us with his chop saw to create the white frame and the final cuts to fit the last barnwood pieces. Also, we were lucky to use his nail gun to put the frame together.
Here are some posts showing the other items we made out of barnwood...
Here are some posts showing the other items we made out of barnwood...
For more beach cottage posts see my Beach Cottage page.
No comments:
Post a Comment