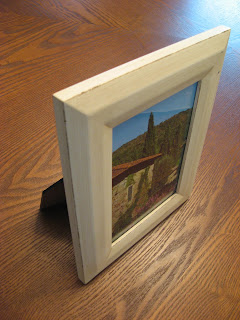
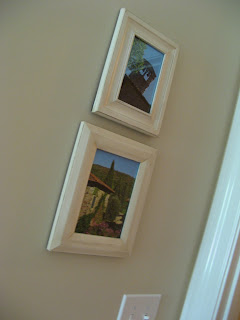
Ever had a cute table frame you want to hang on a wall and
found it had no hanger on the back? I
used to buy the saw-tooth hangers and tack them onto the back, but 3M has made
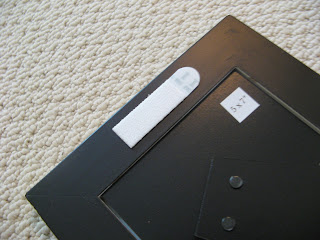
this process much easier – 3M velcro-like strips.
There are a number of advantages to using these…
·
No nail hole required = no damage to wall.
·
Easily removed from frame when you want
to use it as a table frame again.
·
Easily removed from wall – no nail holes to fill.
·
Pictures stay put – no more re-leveling when
pictures shift over time.
·
Forgiving when hanging – you have some leeway to
make adjustments if the strips are not perfectly placed.
·
Also - these are great to hang items on
doors. If you put at least one strip on
top and one on the bottom, it will prevent the frame from knocking when the
door swings open/closed. In addition –
you don’t have to make a hole in your door with a nail.
INSTRUCTIONS:
1.
Take the time to figure out the best place for
the placement of the strip on the back of the frame – you want a flat
surface. Do this first – I made the
mistake once of starting with the strip on the wall, only to find out the
corresponding spot on the back of the frame was not a good place.
3-17-2013 I revised these next steps slightly after using this product some more. My best advice is to follow the instructions on the package and be patient. :o)
2. Next, figure out where the corresponding spot is
on the wall to place the frame exactly where you want it. Again, this needs to be flat surface. On a wall this is easy, but if you are applying to something like a paneled door - you need to make sure you are working with a spot with a flat surface.
3. Put the strips together and expose one sticky side, and apply the 3M strips to the frame per the instructions. This is important - you will need to apply pressure for a certain amount of time. Be patient and don't just stick it on there. They will fall off the surface if you don't take your time and do this right.
4. Remove the other sticky side and apply to the surface (wall/door). Apply a little pressure to make sure it is stuck and pull off your frame. Then put pressure on just the strip per the instructions. Don't apply the frame right away. Follow the instructions and wait the specified period of time before hanging your frame. Once again - be patient.
4. Remove the other sticky side and apply to the surface (wall/door). Apply a little pressure to make sure it is stuck and pull off your frame. Then put pressure on just the strip per the instructions. Don't apply the frame right away. Follow the instructions and wait the specified period of time before hanging your frame. Once again - be patient.
5.
When you apply the frame to the wall you will
hear a ‘thunk’ when the strips are locked together. Easy-peasy.
(If anyone is curious, the photos were taken on our honeymoon in Cortona, Italy) :o)


Great blog! But I'm fortunate enough to know the blog writer personally so I get a first hand and up close view of all these wonderful projects! Keep it up, my great friend!
ReplyDelete