Monday, February 17, 2014

BARN WOOD COFFEE TABLE

BARN WOOD COFFEE TABLE

This barn wood coffee table is one of the coolest projects we took on for our beach cottage.  It all started with a post on Craig's List for barn wood, and surprisingly my husband said "Let's go!".  The wood was from an old barn in Alabama.  We picked out enough boards to create two headboards, a coffee table and a couple extra pieces for some random fun projects.

BARN WOOD COFFEE TABLE
Barnwood in our garage
 
It took two afternoons to remove all the nails, and then another to wire brush each piece and rinse with a 10% bleach and water solution.  We purchased a metal detector wand to find any additional hidden nails (a must if you are going to run pieces through a planer or cut them with a saw).

The project for the headboards seemed relatively easy as we didn't plan to do too much to the wood before putting them together.  The coffee table was a different story.  We needed to plane the pieces down to get the finish we wanted for a table.  Not to mention, put them together somehow to make a tabletop.

Fortunately, my husband has a close friend into woodworking.  They spent an afternoon planing the wood and constructing the table top.  Here are some of the cool things they did - they picked out boards that were different types of wood  - all with their own unique character.  They intentionally left some of the bark exposed on one of the pieces.   Also, they wanted to put the table together in a traditional way - as our friend said - "using a biscuit joiner would be a crime on this old barn wood", so they opted to go with tongue and groove (a more old-school approach).  The sides of the barn wood were grooved and thin pieces of cherry wood were cut hold the whole thing together.  The piece of cherry wood used here was picked up on their Appalachian Trail hike earlier that year - how neat is that?! The table top turned out beautiful!

As a tribute to my husband Tom and his friend Ryan who put the tabletop together, I added this engraving on the bottom with my Dremel...
 
Engraving on Underside of Table

In hindsight - the process would have been easier if we had purchased a pre-made table base and created a table top to fit the base (as opposed to having a custom base made to fit whatever size they made).  However, I would have missed the experience of going to a metal shop, and finishing off a raw steel base myself.  I got a recommendation on a local metal shop from a contractor I had worked with.  I brought a couple photos with me, and a very nice lady helped me through the process.

Here is what I learned
  • They could make the table base for us out of pieces of raw steel welded together.  
  • The pieces of steel come covered in a thick coat of black grease (to keep it from oxidizing).  
  • Once the base was finished it would be passed on to me and I would have to degrease it with a degreasing product, and then determine how to finish it off. 
  • An option  for finishing would be to leave the whole thing outside for awhile to rust (but my husband liked the idea of it being shinier - not rusted). 
  • Once we got the finish we wanted we would have to seal it to stop the oxidation process (a spray polyurethane would be fine).

Below are the specifications we created for the table base.  The light blue shows the steel frame.  The royal blue squares with the circles, represent L-brackets with holes for screws.  These would be welded to the frame; the purpose being to provide a means of attaching the wood table top to the metal base.  I provided specific measurements for placement (in orange) to center the screws on each plank of wood.


Table Specifications

After providing spec's for the design, in a short while the table base was done and I picked it up.  They were nice enough to remove some the grease for me, but there was still work to do.  The welded areas were very shiny steel where they had used a grinder to smooth over the seems.  I mistakenly assumed that after I used the degreaser - the whole piece would look very shiny like this - not so.  

After degreasing, most of the steel was a dull gray color.  Now what was I supposed to do?!  I had an orbital sander, but sandpaper wasn't going to work on steel.  I didn't own a grinder. Ultimately a trip to Lowe's provided a metal brush attachment for our drill and I just kept going over and over the entire table until I got the final look (Note - you need a drill that plugs into a wall outlet - the battery powered drills run out too quickly and don't have enough power).  Lastly, I sprayed it with satin spray polyurethane.  The whole process of degreasing to the final finish took about 12 hours. I was exhausted.

Wire brush attachment for drill

Brushed texture on steel base

With the base of the table ready to go - it was now time to finish the table top.  Before attaching the table top to the base, I sanded the tabletop down with several passes of sandpaper until I got to a very fine grit.  I also applied five coats of satin polyurethane.  Yes - I said five coats - I know how we use coffee tables in this household, and I even considered doing more coats than five.

BARN WOOD COFFEE TABLE'
 
  
The table is a great focal point in the family room, and I know it's my husband's favorite piece in our beach cottage.  A friend of ours says the table "has good energy" - that makes me smile - I couldn't agree more...

BARN WOOD COFFEE TABLE
 
BARN WOOD COFFEE TABLE
  
BARN WOOD COFFEE TABLE
 
Here are some posts showing the other items we made out of barn wood... 
 
For more beach cottage posts see my Beach Cottage page.


Sunday, February 16, 2014

FISHNET PAINT PATTERN - FAILED ATTEMPT?


Failed fishnet paint texture

This is a failed fishnet paint technique, but I'm posting it anyway, hoping to get some feedback or suggestions.  I used satin latex paint and a roller - I'm wondering if using spray paint would have made this look better.  In my mind - it probably would have, but I wanted to use a custom color and I didn't want to choose from limited spray paint colors.

Nonetheless, here is what I did.  I started by priming and then painting the dresser a high gloss white.  I then ran candlewax on all the edges and about an inch into the edges on the face of the drawers and the top of the dresser.  This was do distress the edges a little after painting. 

I purchased the fishnet from Hobby Lobby.  Amazingly enough - it was the ideal size to cover most of the dresser.  I used painters tape to adhere the fishnet to the dresser.

Failed fishnet paint texture
 
 
Then I used satin latex paint on a roller, over the areas I wanted the texture.
 
Failed fishnet paint texture
 
 
Failed fishnet paint texture

Failed fishnet paint texture
 
 
I'm not sure where exactly this went wrong - I just know I wasn't happy with the result.  Here are my thoughts...
 
PROBLEMS
  • Too much paint on the roller creates globs and messes up the texture
  • I chose the wrong paint color - it was too yellow, and I should have chosen a more gray-beige
  • Some areas just looked "messy"
 
I did like where the fishnet was stretched inconsistently across the dresser.  I think this had the potential for giving the piece character.
 
I questioned whether I should have reversed the paint colors (used a dark beige as a base color and then used white paint over top of the fishnet)?  Would this have solved my spray paint issue since I could have easily gone with any white high gloss spray paint over the fishnet?
 
Did I give up on this idea too early?  Should I have tried spray paint and just sucked it up on the limited color choices?  Should I have reversed the color scheme (beige on the base, white on top)?
 
Now that I have taken the time to write this post, it makes me want to go out and try this again.   If anyone has any comments or suggestions I would enjoy hearing them.
 
In the end, I started over and finished this dresser off with a burlap paint texture (see the post here).

Burlap Paint Texture
 
****************************************

UPDATE - JUNE 3, 2015:  After reading through this post again and contemplating whether I should try a fishnet paint technique - I had an idea.  What if I try this again, and this time try using temporary spray adhesive on the back of the fishnet (before applying the fishnet to the piece of furniture)?  This will help the fishnet adhere to the base and help maintain the integrity of the texture.  The key to this would be temporary spray adhesive, so you can easily remove the fishnet after painting.   Also, I think I would definitely try spray paint instead of a paint roller.   My last though is I would definately go with a tan base color of paint and then paint over the fishnet with white spraypaint.  Hmmmmm...another project for another day.

****************************************

I suppose this adventure was not a complete waste.  The fishnet (partially covered in paint), was used on the nautical Christmas wreath I created (see this post).   I like how the paint on the fishnet added to the character.


Fishnet used on Christmas Wreath
 

Saturday, February 15, 2014

BEACH COTTAGE CHRISTMAS WREATH

 
BEACH COTTAGE CHRISTMAS WREATH


The wreath was made for the first Christmas season at our beach cottage.  We didn't want to overdo the decorating but it's always nice to have something.

This was a fun project.  I started with a pile of random materials.  All except the bulbs were recycled materials left over from other projects.


The one exception is I purchased the aqua bulbs from Hobby Lobby.

NOTE:  I use floral wire to attach items on all my Christmas wreaths.  Many of my wreaths have been redone several times, and this was easy since I didn't glue anything on to them.  The bonus of this method is you can reuse all the materials over and over again.

For more beach cottage posts see my Beach Cottage page.
 

BURLAP PAINT TEXTURE


BURLAP PAINT TEXTURE
 
I almost didn't post this one.   I'm still not sure how I feel about this dresser in terms of how the paint effect, and color scheme turned out.  It was another frustrating piece for me.  I had already done a lot of paint distressing using both candlewax and Vaseline, and I wanted to do something different.   (On this dresser, I tried using fishnet to create an interesting paint texture and it didn't quite work out - I'll probably create a post later on that adventure...) (UPDATE: fishnet paint texture posted here.)  In the end I decided to play with burlap.  This dresser was for our beach cottage where we have a yellow bedroom.  I planned to put a lot of neutral pieces to go with the bright yellow quilt.  I already had two whitewashed wicker  pieces used as nightstands.

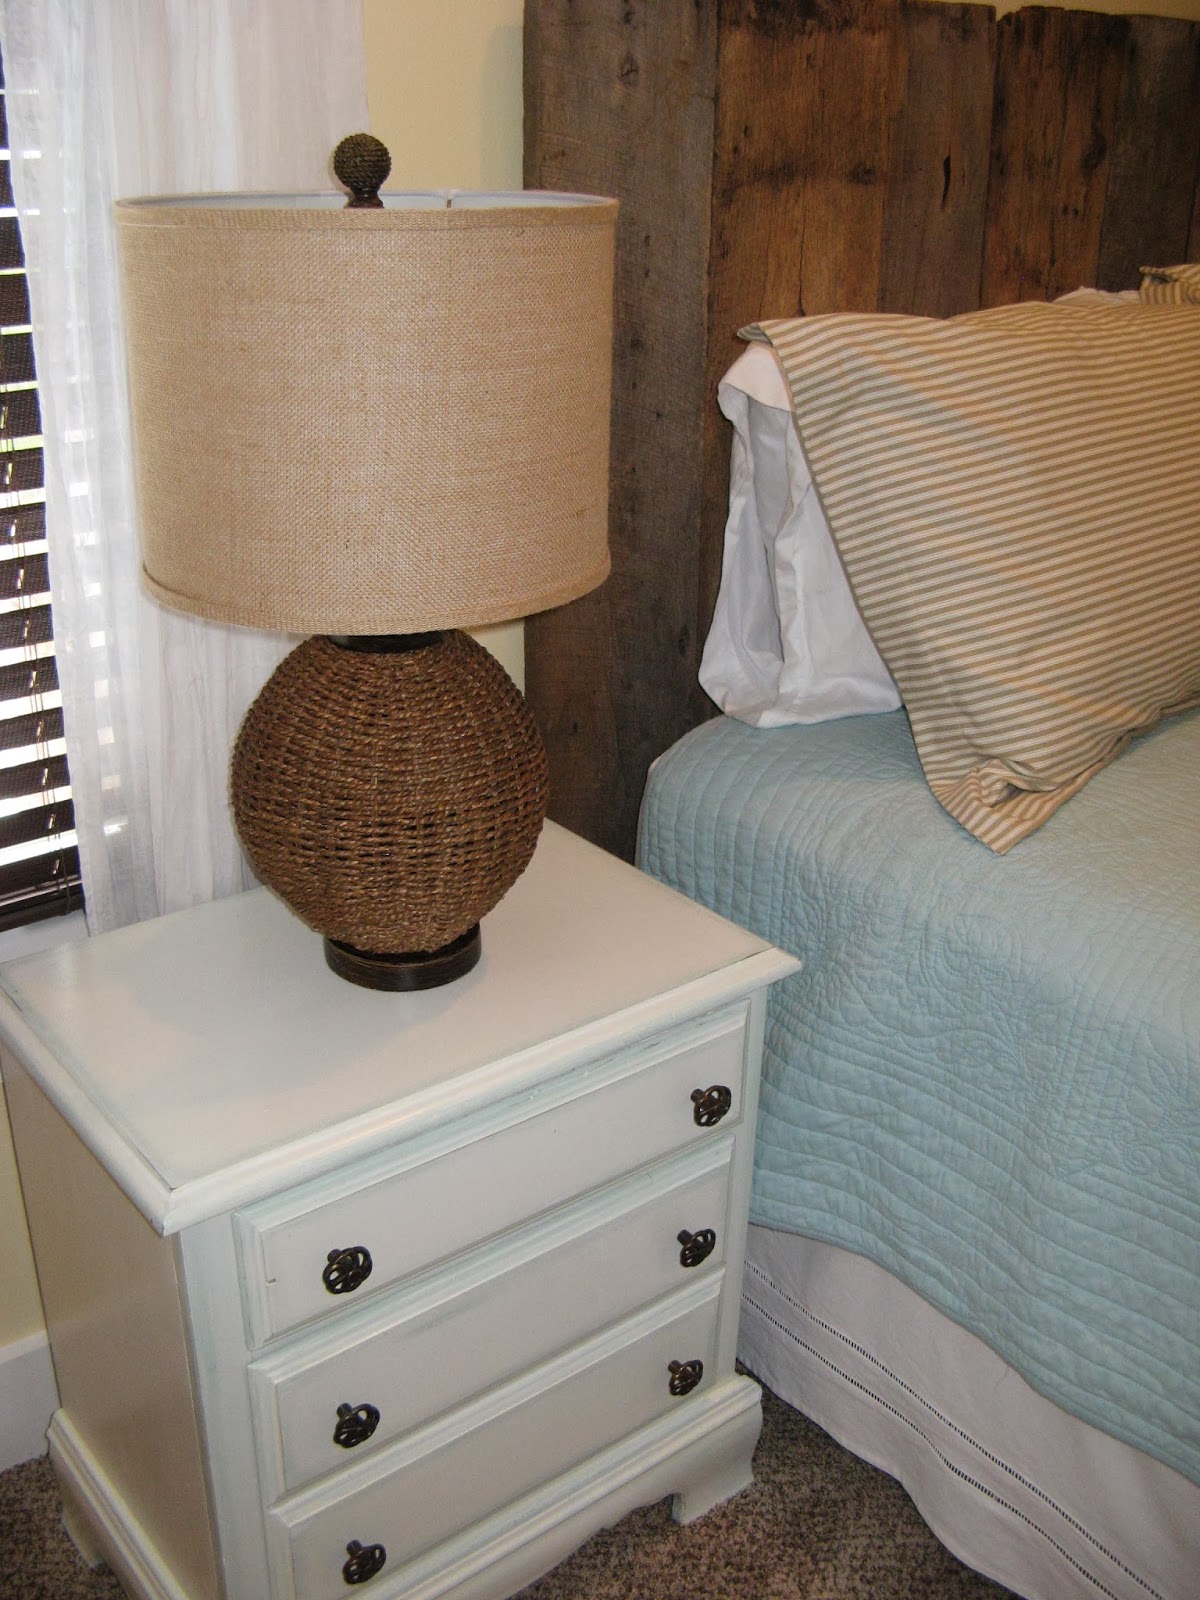
Whitewashed wicker nightstand in same room.

Whitewashed Wicker Piece in the same room.

We picked up the dresser for $40 on Craig's List.  It is a fake plastic wood veneer, but the construction was fairly sturdy and it was clean.  There was some water damage on the surface on the top, but I wasn't too worried about it.  I probably could have smoothed it over with wood filler, but I left it pretty much as is.

Before (handles already removed)
 
Because I wasn't dealing with real wood - I sanded the heck out of the finish


In addition, because it was a fake plastic veneer - the corners would always be perfect and sharp and I wanted it to look like an old wood painted dresser.  Not a problem with this little tool...


I'm not even sure what it's called.  I call it a "cheese-grater-for-wood", and it works great for grinding down edges and corners.  This was one of the many tools given to me by my Dad. Below, you can see how it exposed the partical board underneath.


In addition, I used a Dremel with the cutting wheel attachment to make marks on the plastic veneer to resemble scratches in wood.

The next step was to put a high bonding primer on it.  I think this step was absolutely necessary to get the paint to stick.


A high gloss white paint was used on the whole dresser as a base.  (In the end, I changed my mind and painted everything but the drawer fronts and the top in a darker beige color).  This got me to the point where I was ready to start the burlap texture.
 
PAINT COLORS
 
Burlap texture is Sherwin Williams #7036 Accessible Beige.
The darker color on the rest of the final piece is Sherwin Williams #7037 Balanced Beige
 
SUPPLIES
  • Pieces of Burlap (the cheaper the better for interesting texure - landscaping burlap or old potato sacks are good options here)
  • Foam Roller Brush
  • Paint - I used satin latex paint samples from Lowes
  • Paint Brush
  • Plastic Tablecloth (this is a messy process, you need something like this)
 
PROCESS
 
STEP #1:  This whole process is quite messy.  You will want a plastic tablecloth underneath the burlap.  Apply the paint to one side of the burlap with a brush.  The burlap will initially absorb a lot of paint.  Here's the trick - you need enough paint to accommodate creating the texture, but not too much so that it creates paint globs.  After you think you have enough paint - keep brushing over the entire piece of burlap to insure you don't have any areas with too much paint so the burlap is coated evenly.


BURLAP PAINT TEXTURE
Step #1  Brush paint on one side of burlap

STEP #2:  Carefully place the burlap paint side down on the surface where you want the texture.  Roll over it several times with a foam roller.  Carefully lift up the piece.  Note - as you do this process multiple times - the top of the burlap will end up with paint on it as well - no worries, it's just the paint seeping through from the other side.


BURLAP PAINT TEXTURE
Step #2  Lay burlap face down on the surface and roll over the top

STEP #3:  Repeat step 1, and overlap the burlap on the textured area just slightly so you won't have any gaps.  IMPORTANT:  Use multiple pieces of burlap and don't place them in the same position every time (for example, rotate the piece 90 degrees the next time you use it, so it is not in the same position and same direction every time).  This is so you don't create obvious patterns.


BURLAP PAINT TEXTURE
Result
I ended up re-doing the burlap texture since I wasn't completely happy with the original color I had chosen (it was too yellow of a beige).  Also, I could see obvious repeats in the texture.  In addition, there were spots on the texture that were just paint globs because I wasn't careful enough when applying the paint. 

At some point I also decided to paint everything that wasn't textured - a darker beige.  The final step was to coat it with satin polyurethane.

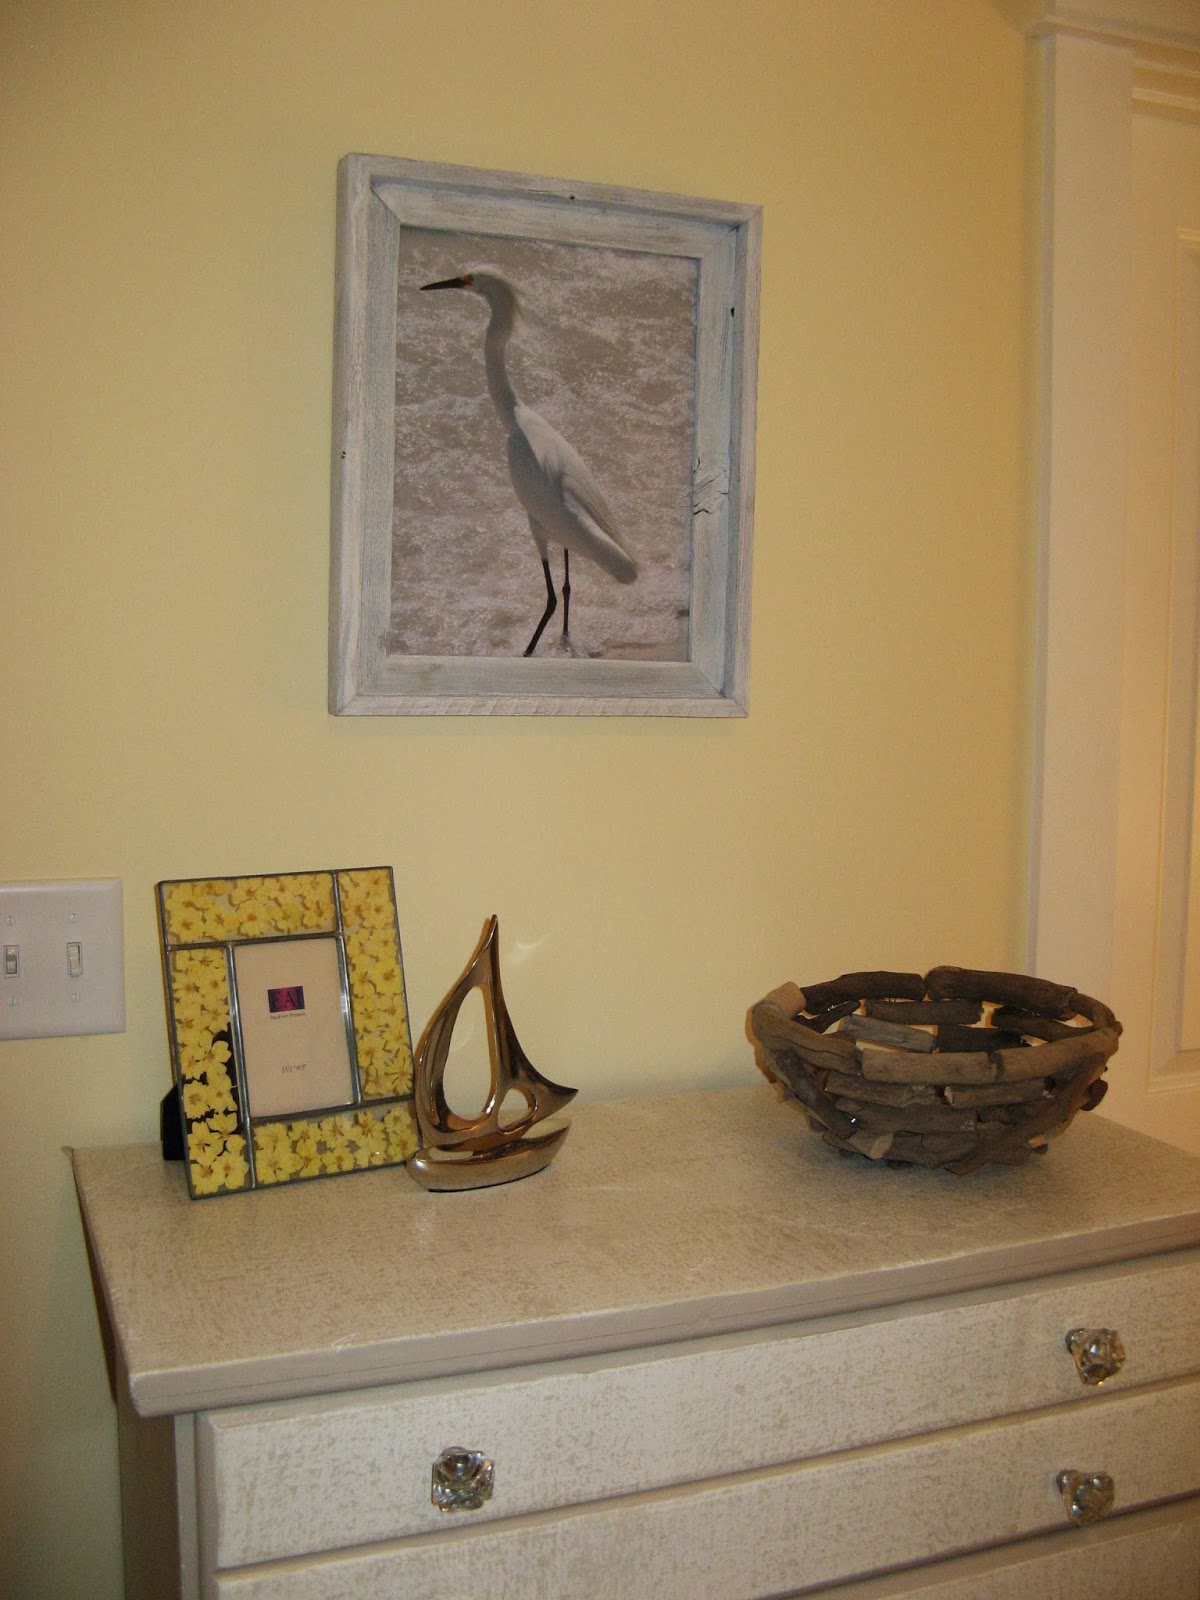
I found satin nickel drawer pulls for the drawers (these were ordered online since I wanted wide spread handles).  I chose glass knobs from Hobby Lobby on the top drawer, so this piece would relate to the nightstand with the glass-like crackle knobs.

BURLAP PAINT TEXTURE
 
 
The bonus of the texture on the top of the dresser is it camouflaged the water damage.

BURLAP PAINT TEXTURE
 
 
You can see the water damage under the driftwood basket if you look closely.

BURLAP PAINT TEXTURE


Here are some photos from the yellow bedroom where this dresser found a home...

BURLAP PAINT TEXTURE

BURLAP PAINT TEXTURE


 After going through this process, I went on pinterest to see if anyone had a better way of getting this texture.  I think these two posts offer some good options.

Spray Paint Through Burlap

Paint Roller with Burlap


For more beach cottage posts see my Beach Cottage page.
 

Friday, February 14, 2014

NIGHTSTANDS - CANDLEWAX PAINT DISTRESSED


Nightstand - Candlewax Paint Distressed Aqua & White


This post is about two of the three nightstands I picked up for $85 total on Craigslist.  I felt like they were similar enough to use in the same bedroom in our beach cottage.    Here is a before photo of one of them.  I really stink at remembering to take the before photos (which is why I only have one photo).  I just get too excited about starting projects and I forget to take the photos, and then it's too late.


Before Photo of Nightstand
The color scheme for the bedroom included a pale aqua color and I had already created this dresser...

Aqua Dresser in Bedroom


I wanted to do something different than the dresser with the aqua blue, but I still wanted all the furniture to at least relate to one another.  I was inspired by this post I found on pinterest (see photo and link below).   This photo inspired me to use the same aqua paint from the dresser as a basecoat, but use white as a topcoat.  The aqua blue base would be exposed using the candlewax technique.

Inspiration Photo
 http://www.youaretalkingtoomuch.com/2012/02/a-baby-or-a-beach-cottage/

To start, I sanded down the nightstands.  The same aqua paint used on the dresser in the same room was the base coat for the nightstands (Sherwin Williams Tidewater #6477).  It was paint and primer on one so I didn't feel the need to prime.  Once this basecoat was dry - I applied candlewax to the corners/edges.  I also rubbed candlewax about an inch onto some of the flat surfaces (to later expose more of the aqua blue underneath, and to mimic the idea of the inspiration piece).

The top coat of paint was a high gloss white paint Pegasus by Olympic #D30-1 (something I had on hand because it is the white trim color in our home).  Once this was dry I used sandpaper to lightly sand off the white paint where the candlewax was applied in order to expose some of the aqua paint underneath. 

Nightstand - Candlewax Paint Distressed Aqua & White


Note - your sandpaper will get gunked up with the paint and the wax.  Just use old pieces as you will need to throw them away after this sanding process.


The look is subtle, and I like how the aqua is softly peaking through the white.  A couple coats of satin polyurethane finished off the nightstands. 

 
The knobs were from Hobby Lobby in an antique bronze finish.  (The aqua blue dresser in the same room already had the antique bronze starfish knobs).

Nightstand - Candlewax Paint Distressed Aqua & White
 
 
Here they are in the room.  I think they look really nice next to the aqua quilts.  They add a light element to the room and are a good contrast with the brown wicker lamps and barn wood headboards.

Nightstand - Candlewax Paint Distressed Aqua & WhiteNightstand - Candlewax Paint Distressed Aqua & White


Ultimately, I think the nightstands relate to the dresser in the same room nicely.  The use of the same aqua paint and similar finished antique bronze knobs, helps them make sense together without being too similar.


Tip -  if you want a finish that resembles more of the finish on the inspiration piece - I think the use of Vaseline in addition to candlewax would help.   See my other post that includes Vaseline as part of the distressing technique.  The Vaseline would allow you to expose more of the paint color underneath, whereas the candlewax provides for a more subtle exposure of the color.

If you are interested in a general overview of some DISTRESSING TECHNIQUES, see my post here which covers the use of SANDPAPER, CANDLEWAX and VASELINE.

For more beach cottage posts see my Beach Cottage page.
 

Wednesday, February 12, 2014

GARDEN GATE WALL ART

Garden Gate Wall Art - Beach Cottage Decor
 
Another Craig's List find for our beach cottage, I got this garden gate and didn't know exactly what I was going to do with it.  It sat in the garage for awhile until we furnished most of the beach cottage and the perfect spot revealed itself.


Old gate sitting in our garage


This bedroom needed a rustic accent.  I say this because every space in our beach cottage had a rustic element (barn wood, aged copper, old boat oars, driftwood, antiques accessories, etc...)  The gate was an item I had not placed yet.  It is about 25 years old (it has the year 1989 carved into to the top of it).  Someone took great care in putting it together, and I like that it is an unexpected piece of art on a wall.


This is the yellow bedroom in our cottage.  I'm still on the fence about the yellow quilt, but I like this bedroom so much more with the wooden gate on the wall.  It's a great focal point and works with the other neutrals in the room to help the quilt be less "in-your-face" yellow.  I'm generally a neutral and earth-tones kind of girl, so this bright color thing in decorating is new for me.


Garden Gate Wall Art - Beach Cottage Decor


Garden Gate Wall Art - Beach Cottage Decor


For more beach cottage posts see my Beach Cottage page.