 |
| Whitewashed wicker nightstand in same room. |
 |
| Whitewashed Wicker Piece in the same room. |
We picked up the dresser for $40 on Craig's List. It is a fake plastic wood veneer, but the construction was fairly sturdy and it was clean. There was some water damage on the surface on the top, but I wasn't too worried about it. I probably could have smoothed it over with wood filler, but I left it pretty much as is.
 |
| Before (handles already removed) |
I'm not even sure what it's called. I call it a "cheese-grater-for-wood", and it works great for grinding down edges and corners. This was one of the many tools given to me by my Dad. Below, you can see how it exposed the partical board underneath.
In addition, I used a Dremel with the cutting wheel attachment to make marks on the plastic veneer to resemble scratches in wood.
The next step was to put a high bonding primer on it. I think this step was absolutely necessary to get the paint to stick.
A high gloss white paint was used on the whole dresser as a base. (In the end, I changed my mind and painted everything but the drawer fronts and the top in a darker beige color). This got me to the point where I was ready to start the burlap texture.
PAINT COLORS
Burlap texture is Sherwin Williams #7036 Accessible Beige.
The darker color on the rest of the final piece is Sherwin Williams #7037 Balanced Beige
SUPPLIES
- Pieces of Burlap (the cheaper the better for interesting texure - landscaping burlap or old potato sacks are good options here)
- Foam Roller Brush
- Paint - I used satin latex paint samples from Lowes
- Paint Brush
- Plastic Tablecloth (this is a messy process, you need something like this)
PROCESS
STEP #1: This whole process is quite messy. You will want a plastic tablecloth underneath the burlap. Apply the paint to one side of the burlap with a brush. The burlap will initially absorb a lot of paint. Here's the trick - you need enough paint to accommodate creating the texture, but not too much so that it creates paint globs. After you think you have enough paint - keep brushing over the entire piece of burlap to insure you don't have any areas with too much paint so the burlap is coated evenly.
 |
| Step #1 Brush paint on one side of burlap |
STEP #2: Carefully place the burlap paint side down on the surface where you want the texture. Roll over it several times with a foam roller. Carefully lift up the piece. Note - as you do this process multiple times - the top of the burlap will end up with paint on it as well - no worries, it's just the paint seeping through from the other side.
 |
| Step #2 Lay burlap face down on the surface and roll over the top |
STEP #3: Repeat step 1, and overlap the burlap on the textured area just slightly so you won't have any gaps. IMPORTANT: Use multiple pieces of burlap and don't place them in the same position every time (for example, rotate the piece 90 degrees the next time you use it, so it is not in the same position and same direction every time). This is so you don't create obvious patterns.
 |
| Result |
At some point I also decided to paint everything that wasn't textured - a darker beige. The final step was to coat it with satin polyurethane.
I found satin nickel drawer pulls for the drawers (these were ordered online since I wanted wide spread handles). I chose glass knobs from Hobby Lobby on the top drawer, so this piece would relate to the nightstand with the glass-like crackle knobs.
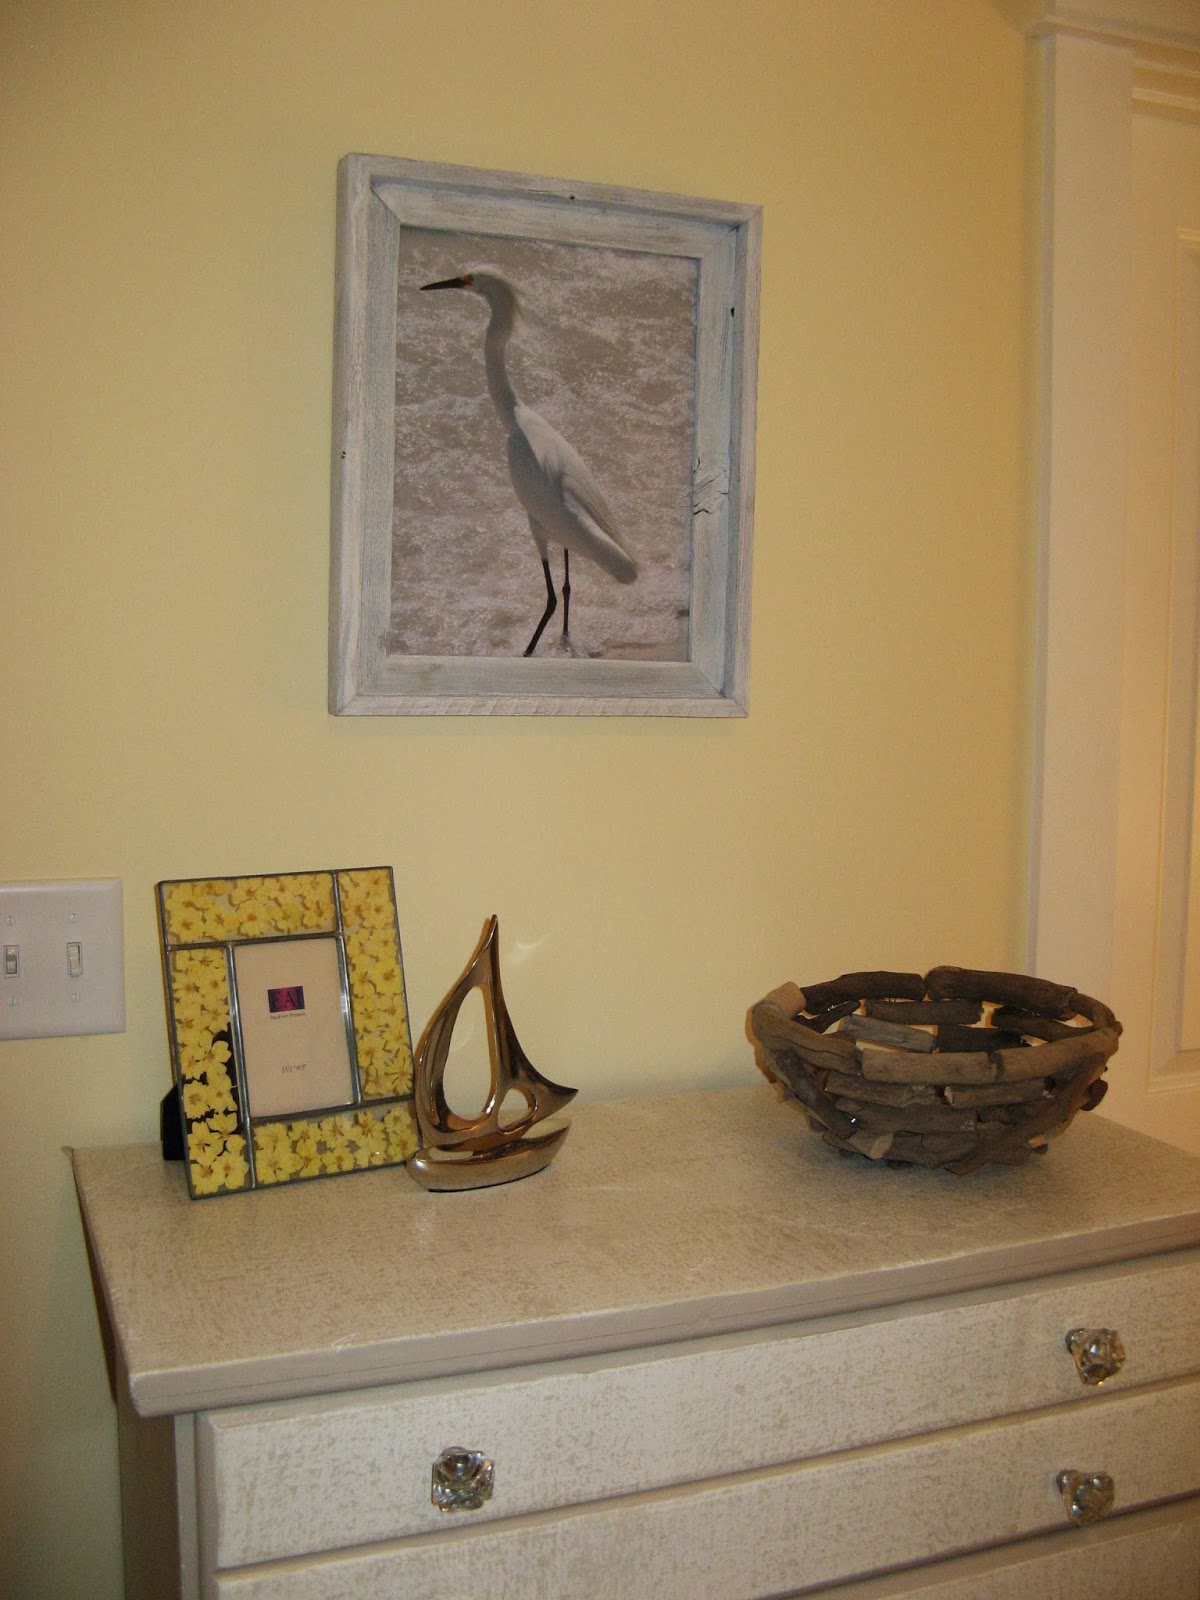
The bonus of the texture on the top of the dresser is it camouflaged the water damage.
You can see the water damage under the driftwood basket if you look closely.
Here are some photos from the yellow bedroom where this dresser found a home...
After going through this process, I went on pinterest to see if anyone had a better way of getting this texture. I think these two posts offer some good options.
Spray Paint Through Burlap
Paint Roller with Burlap
For more beach cottage posts see my Beach Cottage page.


No comments:
Post a Comment